Posted by admin on March 9, 2012
Some people have limited quantities of products, like antique dealers. Our shopping cart allows you to set quantities of products and control the shop’s response when inventory is low. There are 5 separate options for your shop.
Most users will use the ‘None’ option. This does not manage or reduce products quantities. For those of you who will use this, here are the other 4 options:
Transparent – don’t let the customer know anything about stock, but email "admin" when stock is low. This option will reduce the quantity of your items but will not stop anyone from buying a product which is out of stock.
|
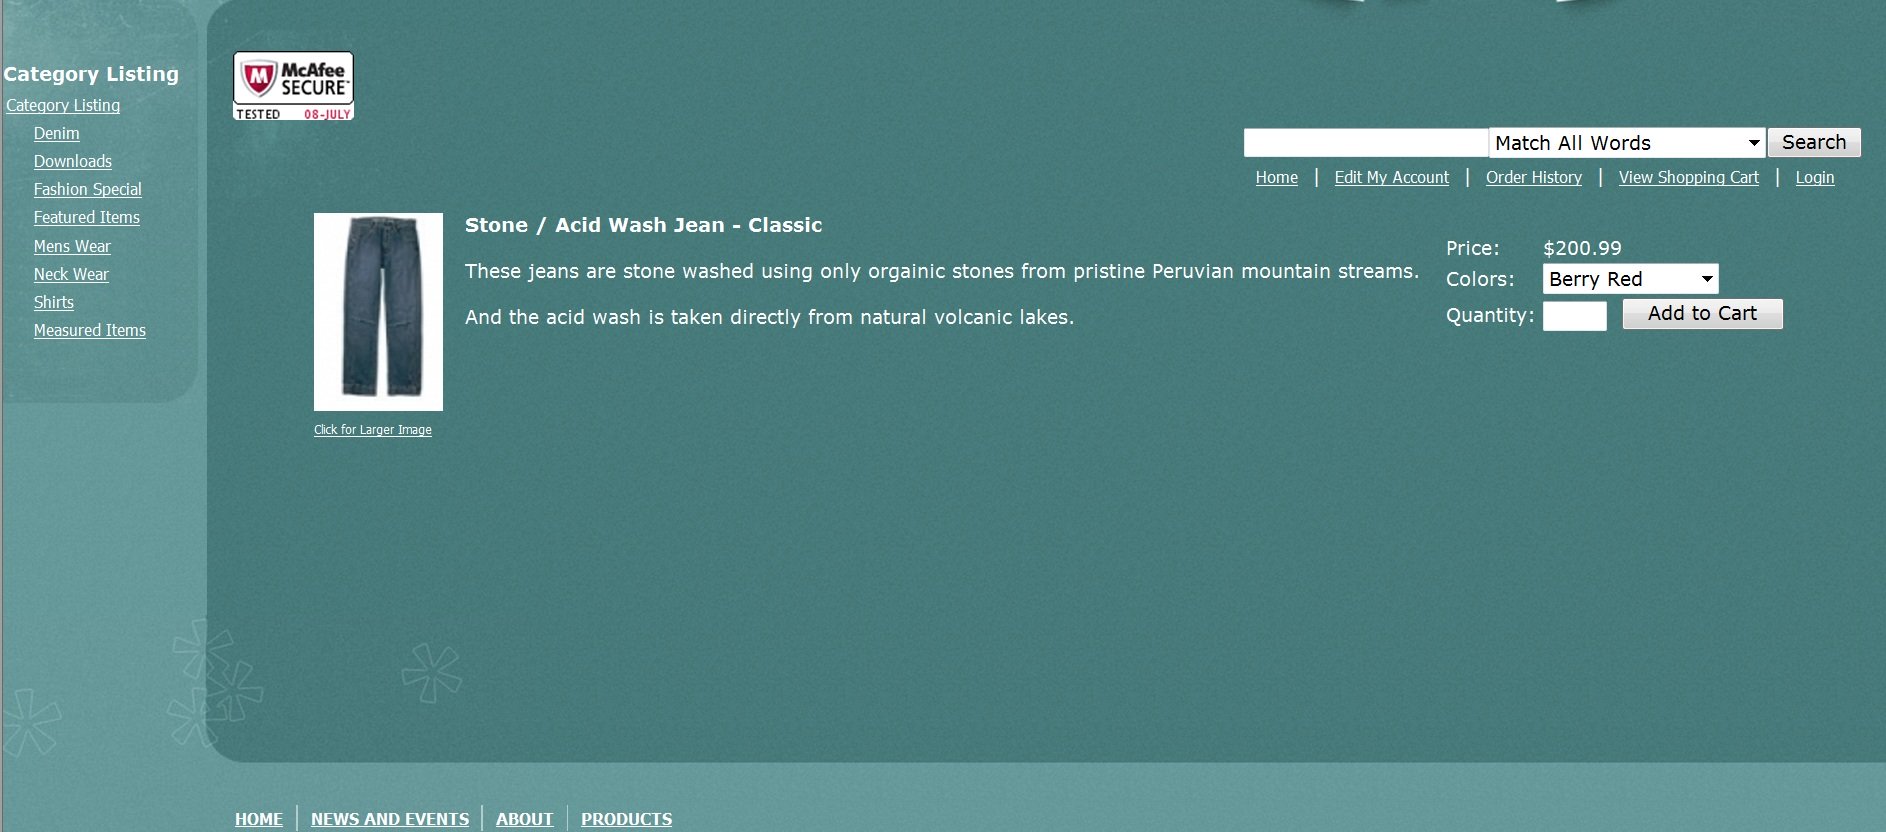
Visible – Show customer when they are ordering more than is in stock and display a custom message, ALLOW THEM TO ORDER, also email "admin" when stock is low. This option, similar to ‘Transparent’, will always allow customers to order products, but unlike ‘Transparent’ will inform the customer if he or she is buying a product which is out of stock.
You can see in the image to the right, the message states ‘The item ‘Electric Train Set’ has less in stock than the quantity you ordered – SOLD OUT’. You can see the left, the ‘SOLD OUT’ part is the custom message we have entered.
|
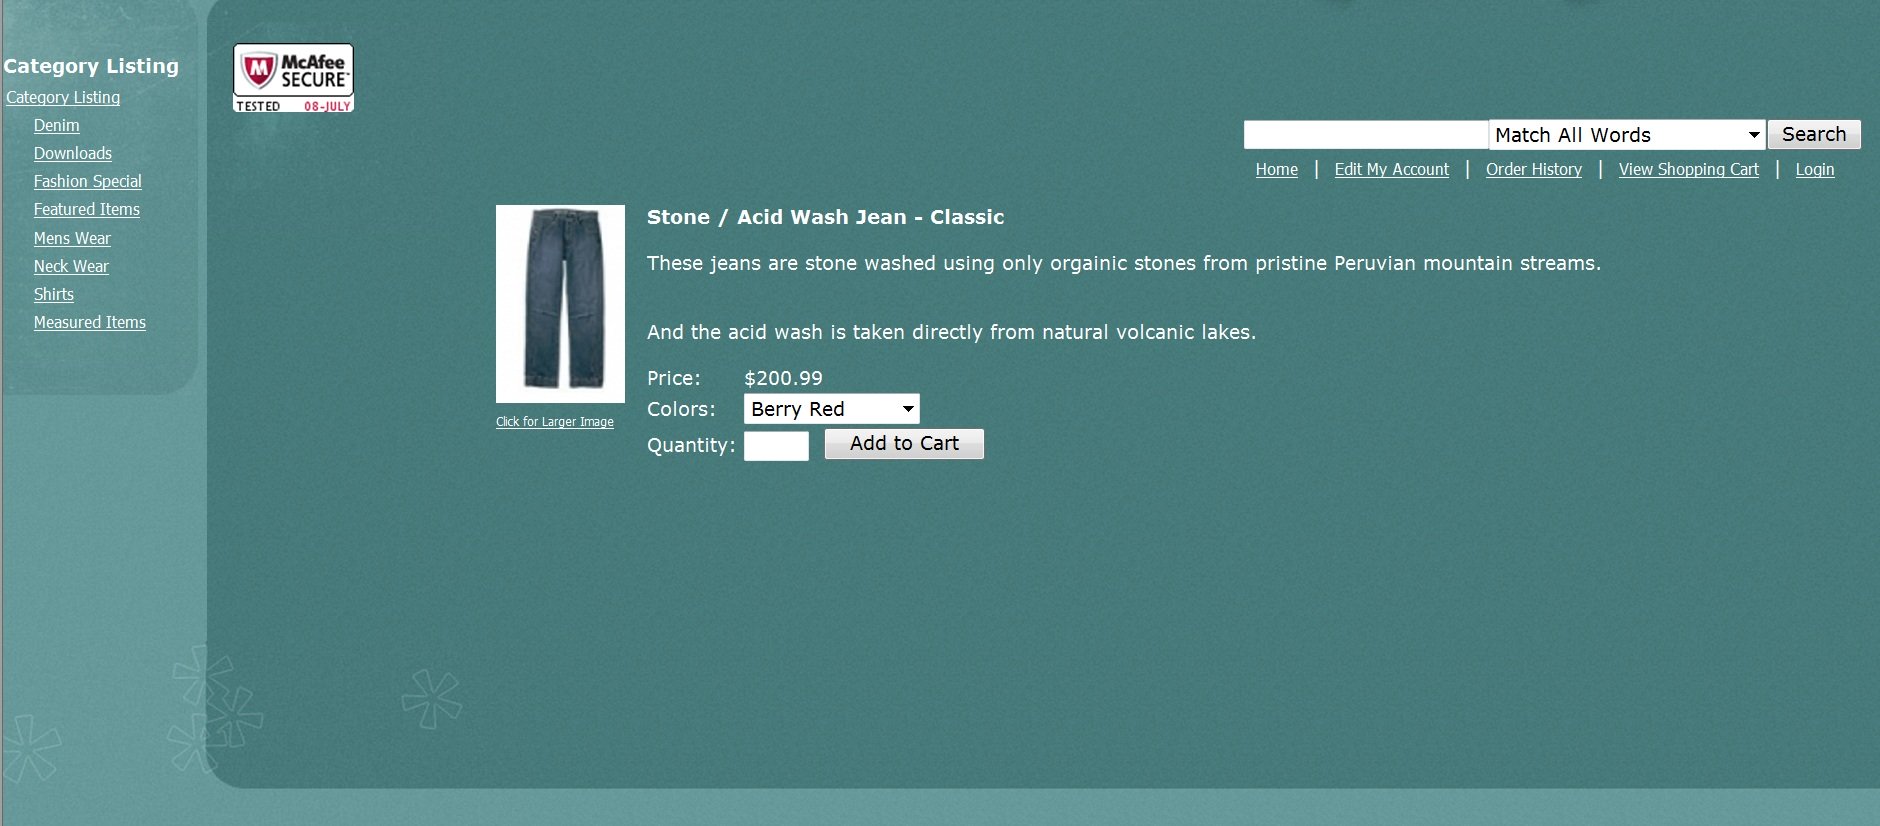
| Restricted – Show customer when they are ordering more than is in stock and give custom message but DO NOT PERMIT THEM TO BUY the out-of-stock product, also email "admin" when stock is low. As you can see in the image to the right, the ‘Add to Cart’ button no longer appears. The customer sees the custom message, which is ‘SOLD OUT’ from the general settings. |
|
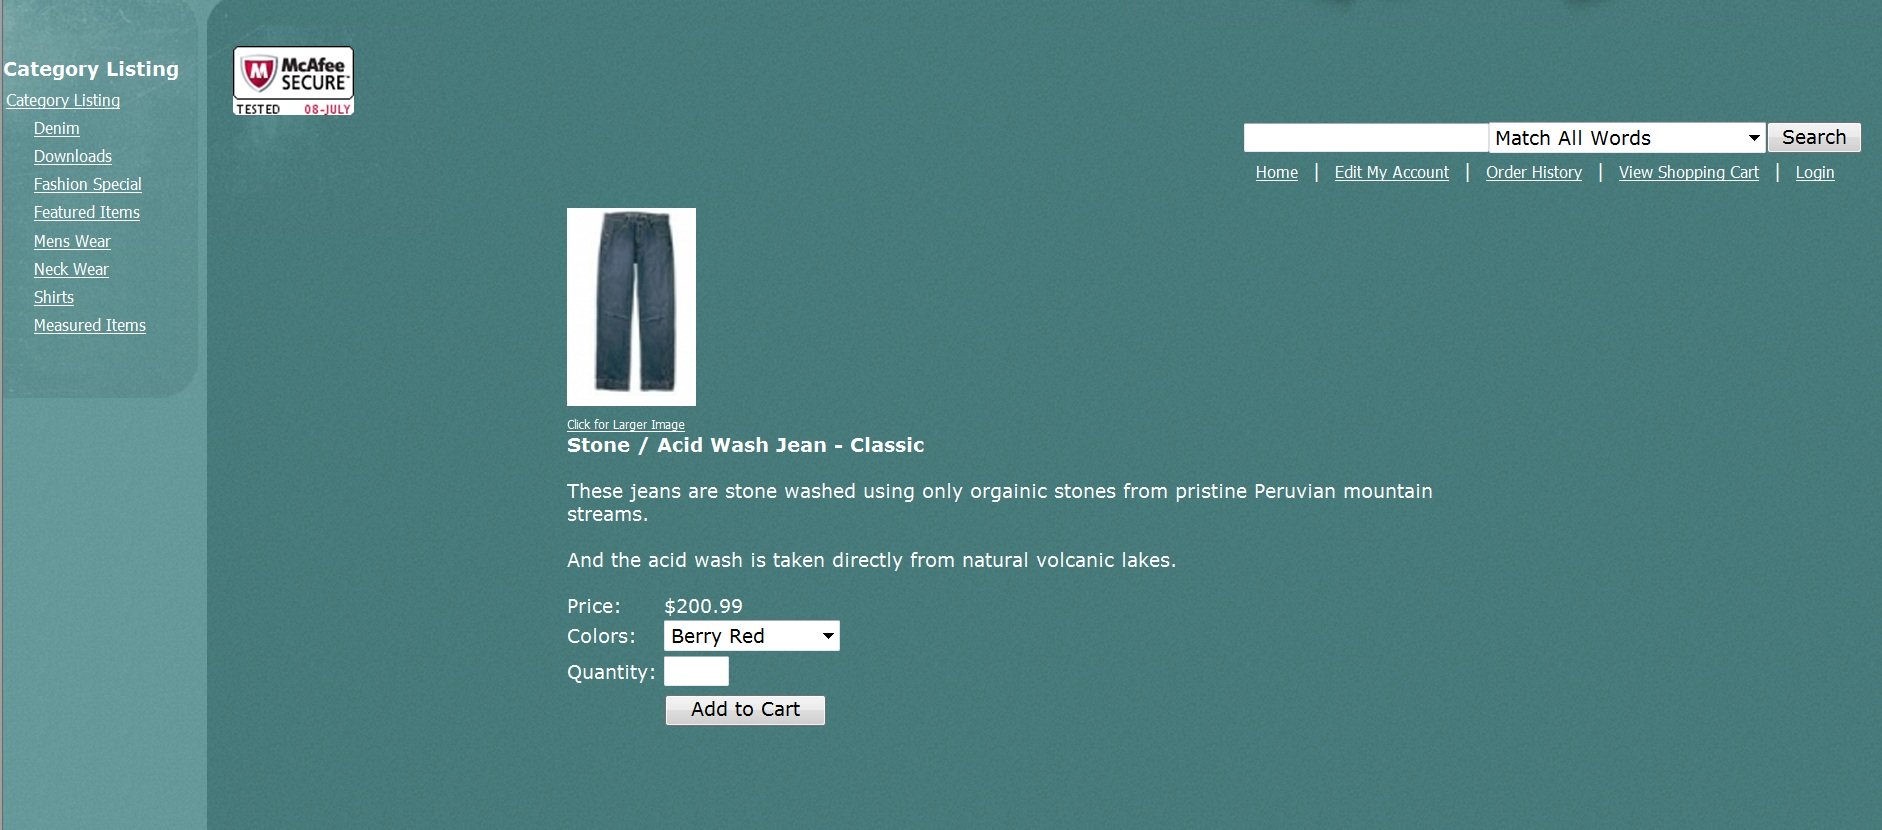
Restricted Hidden – Do not show out of stock items to customers, also email "admin" when stock is low.
This option will simply not show any out of stock items on your site.
|
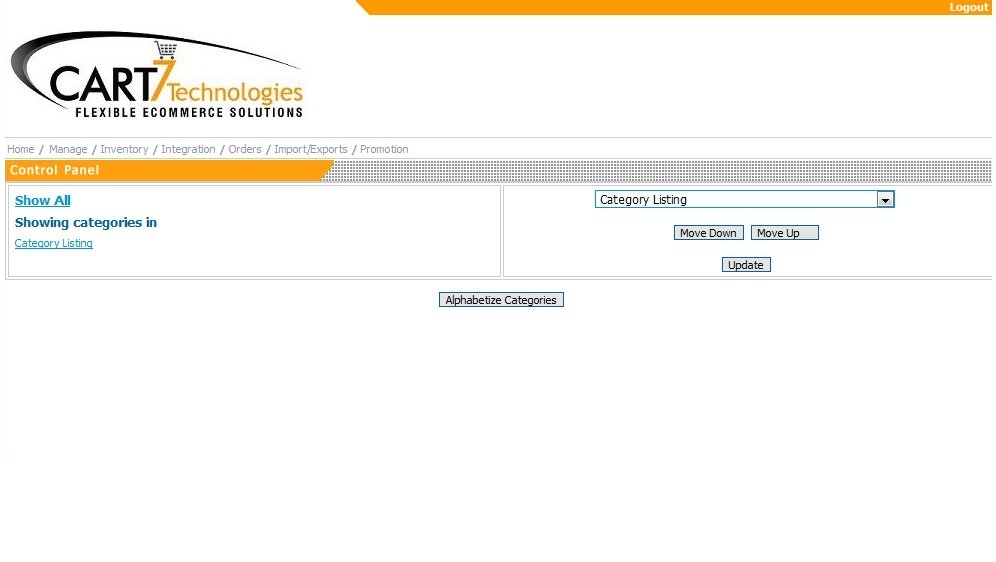 Arrange
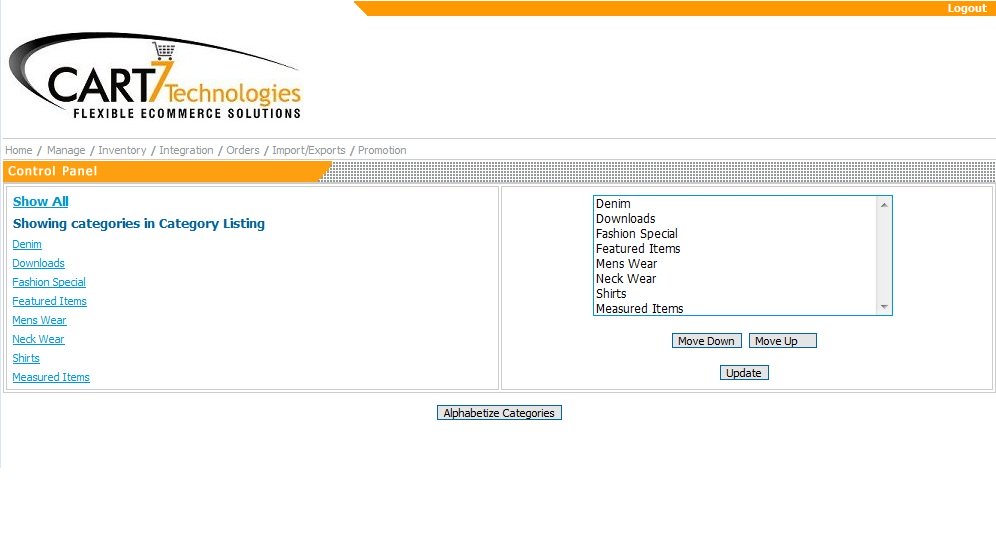

